When you first download Mileage+, you'll be taken through onboarding to enable all relevant permissions. If you're using AutoTrack to record your journeys, ensure you enable all permissions with full access, for the best tracking experience.
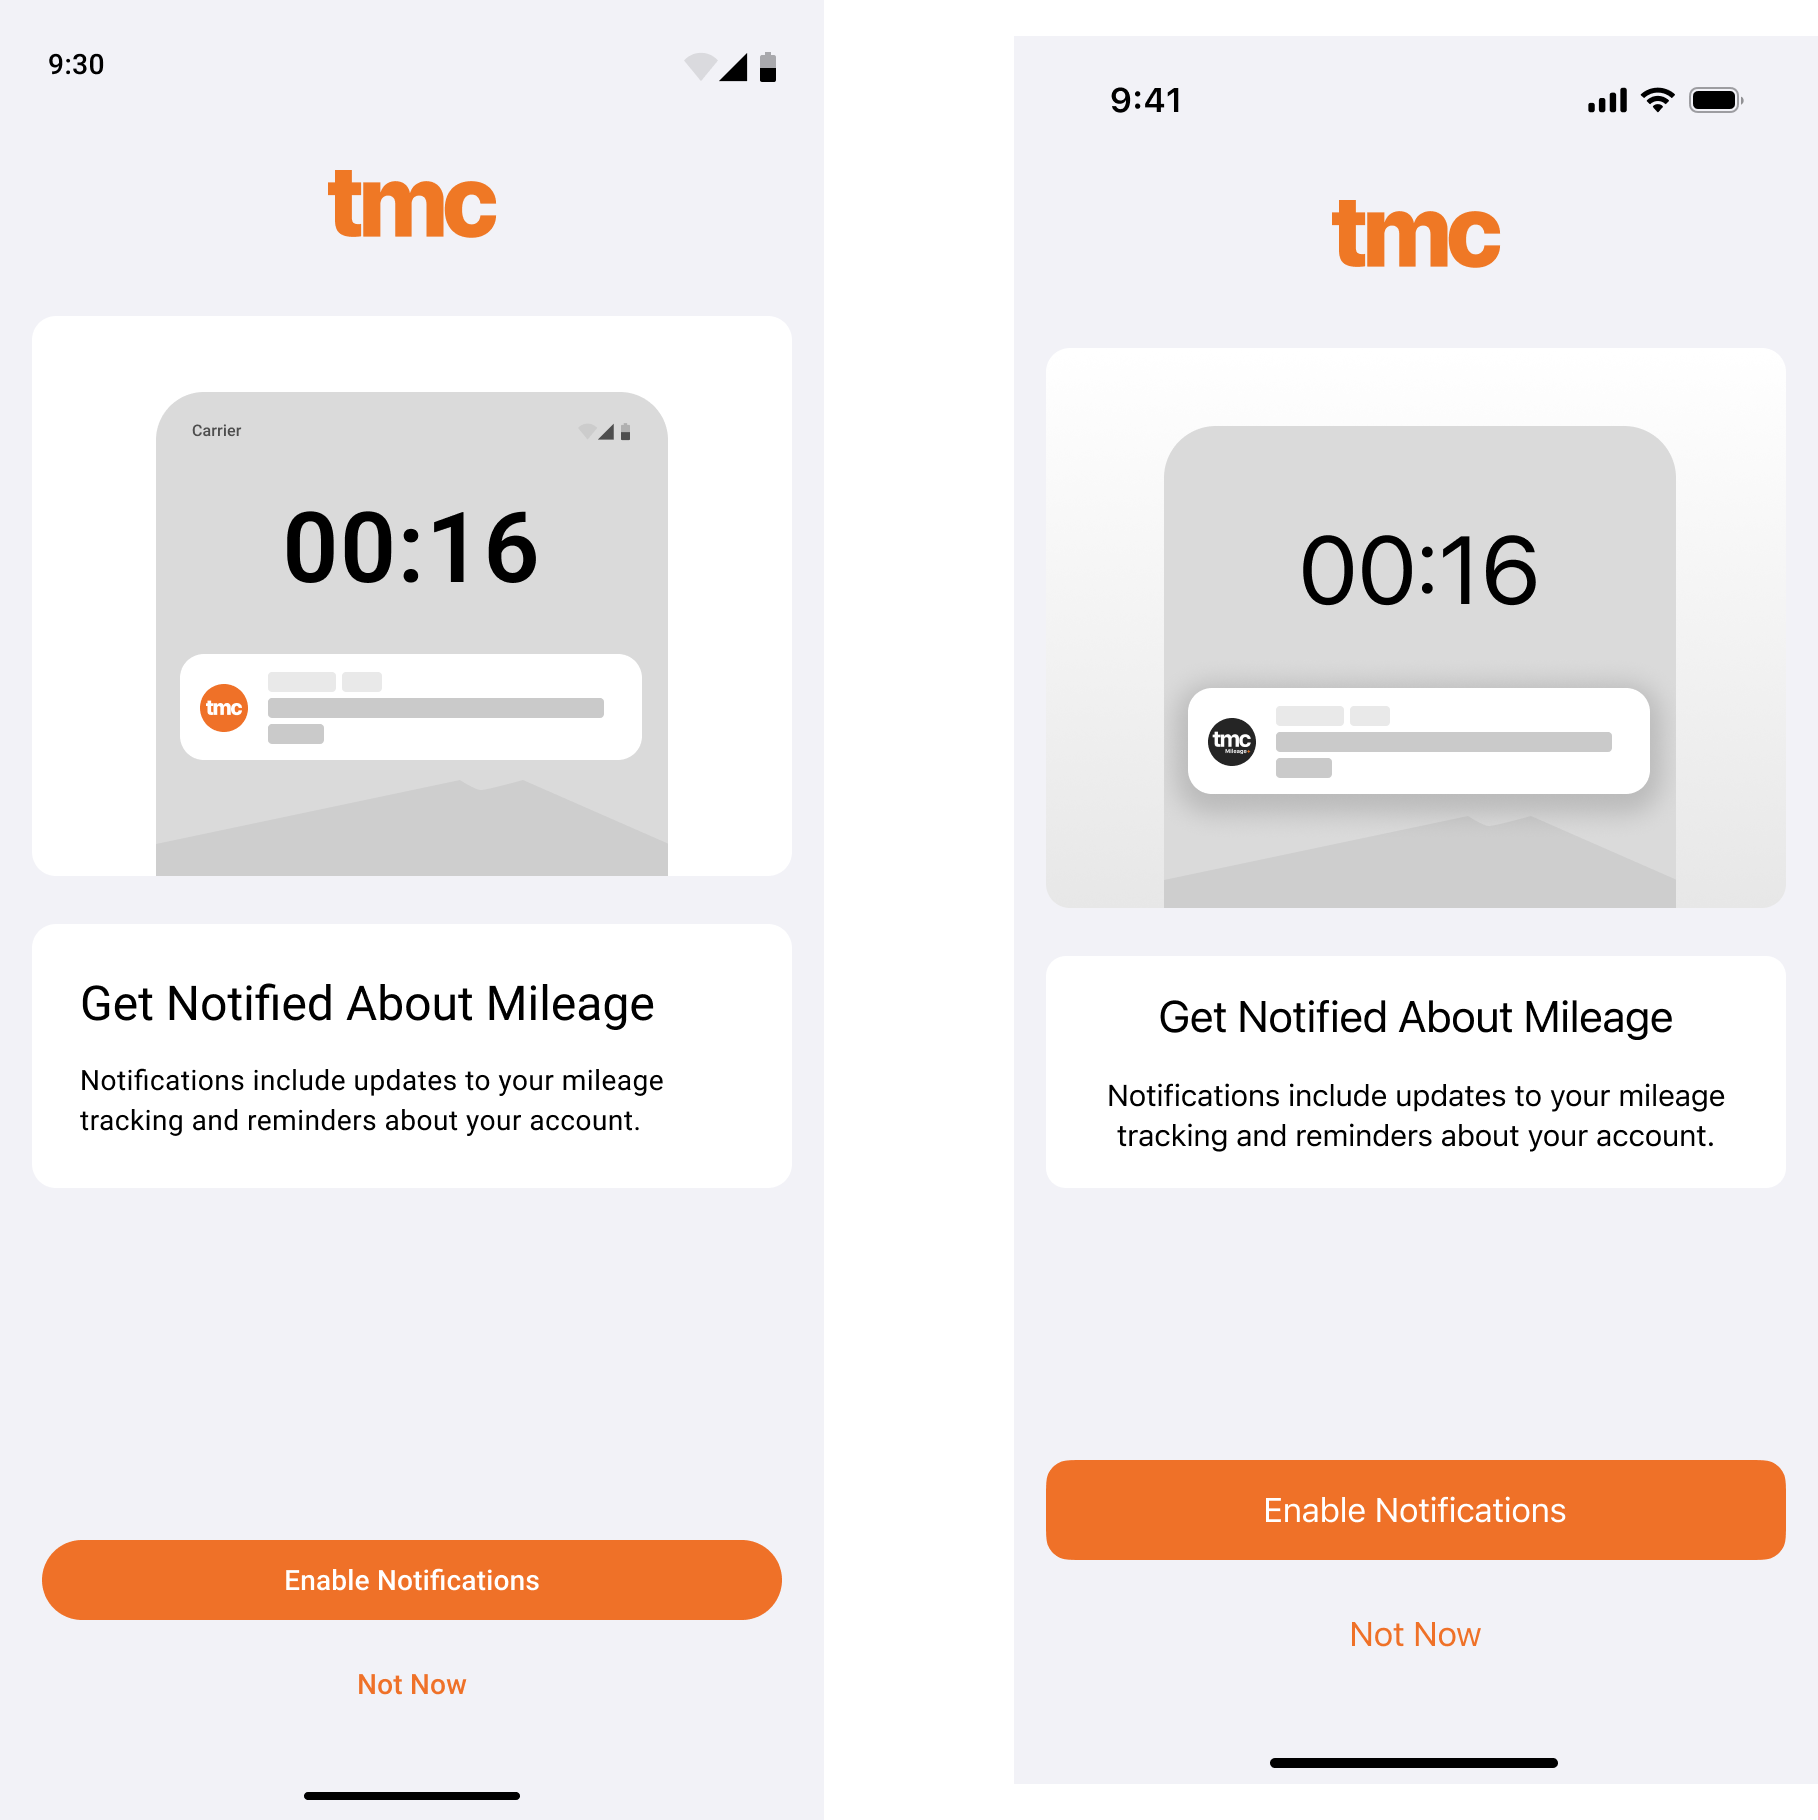
1. Enable notifications
Enabling notifications allows us to send vital notifications relating to events on your account or surrounding AutoTrack, enable this for the best experience.
2. Location Permissions
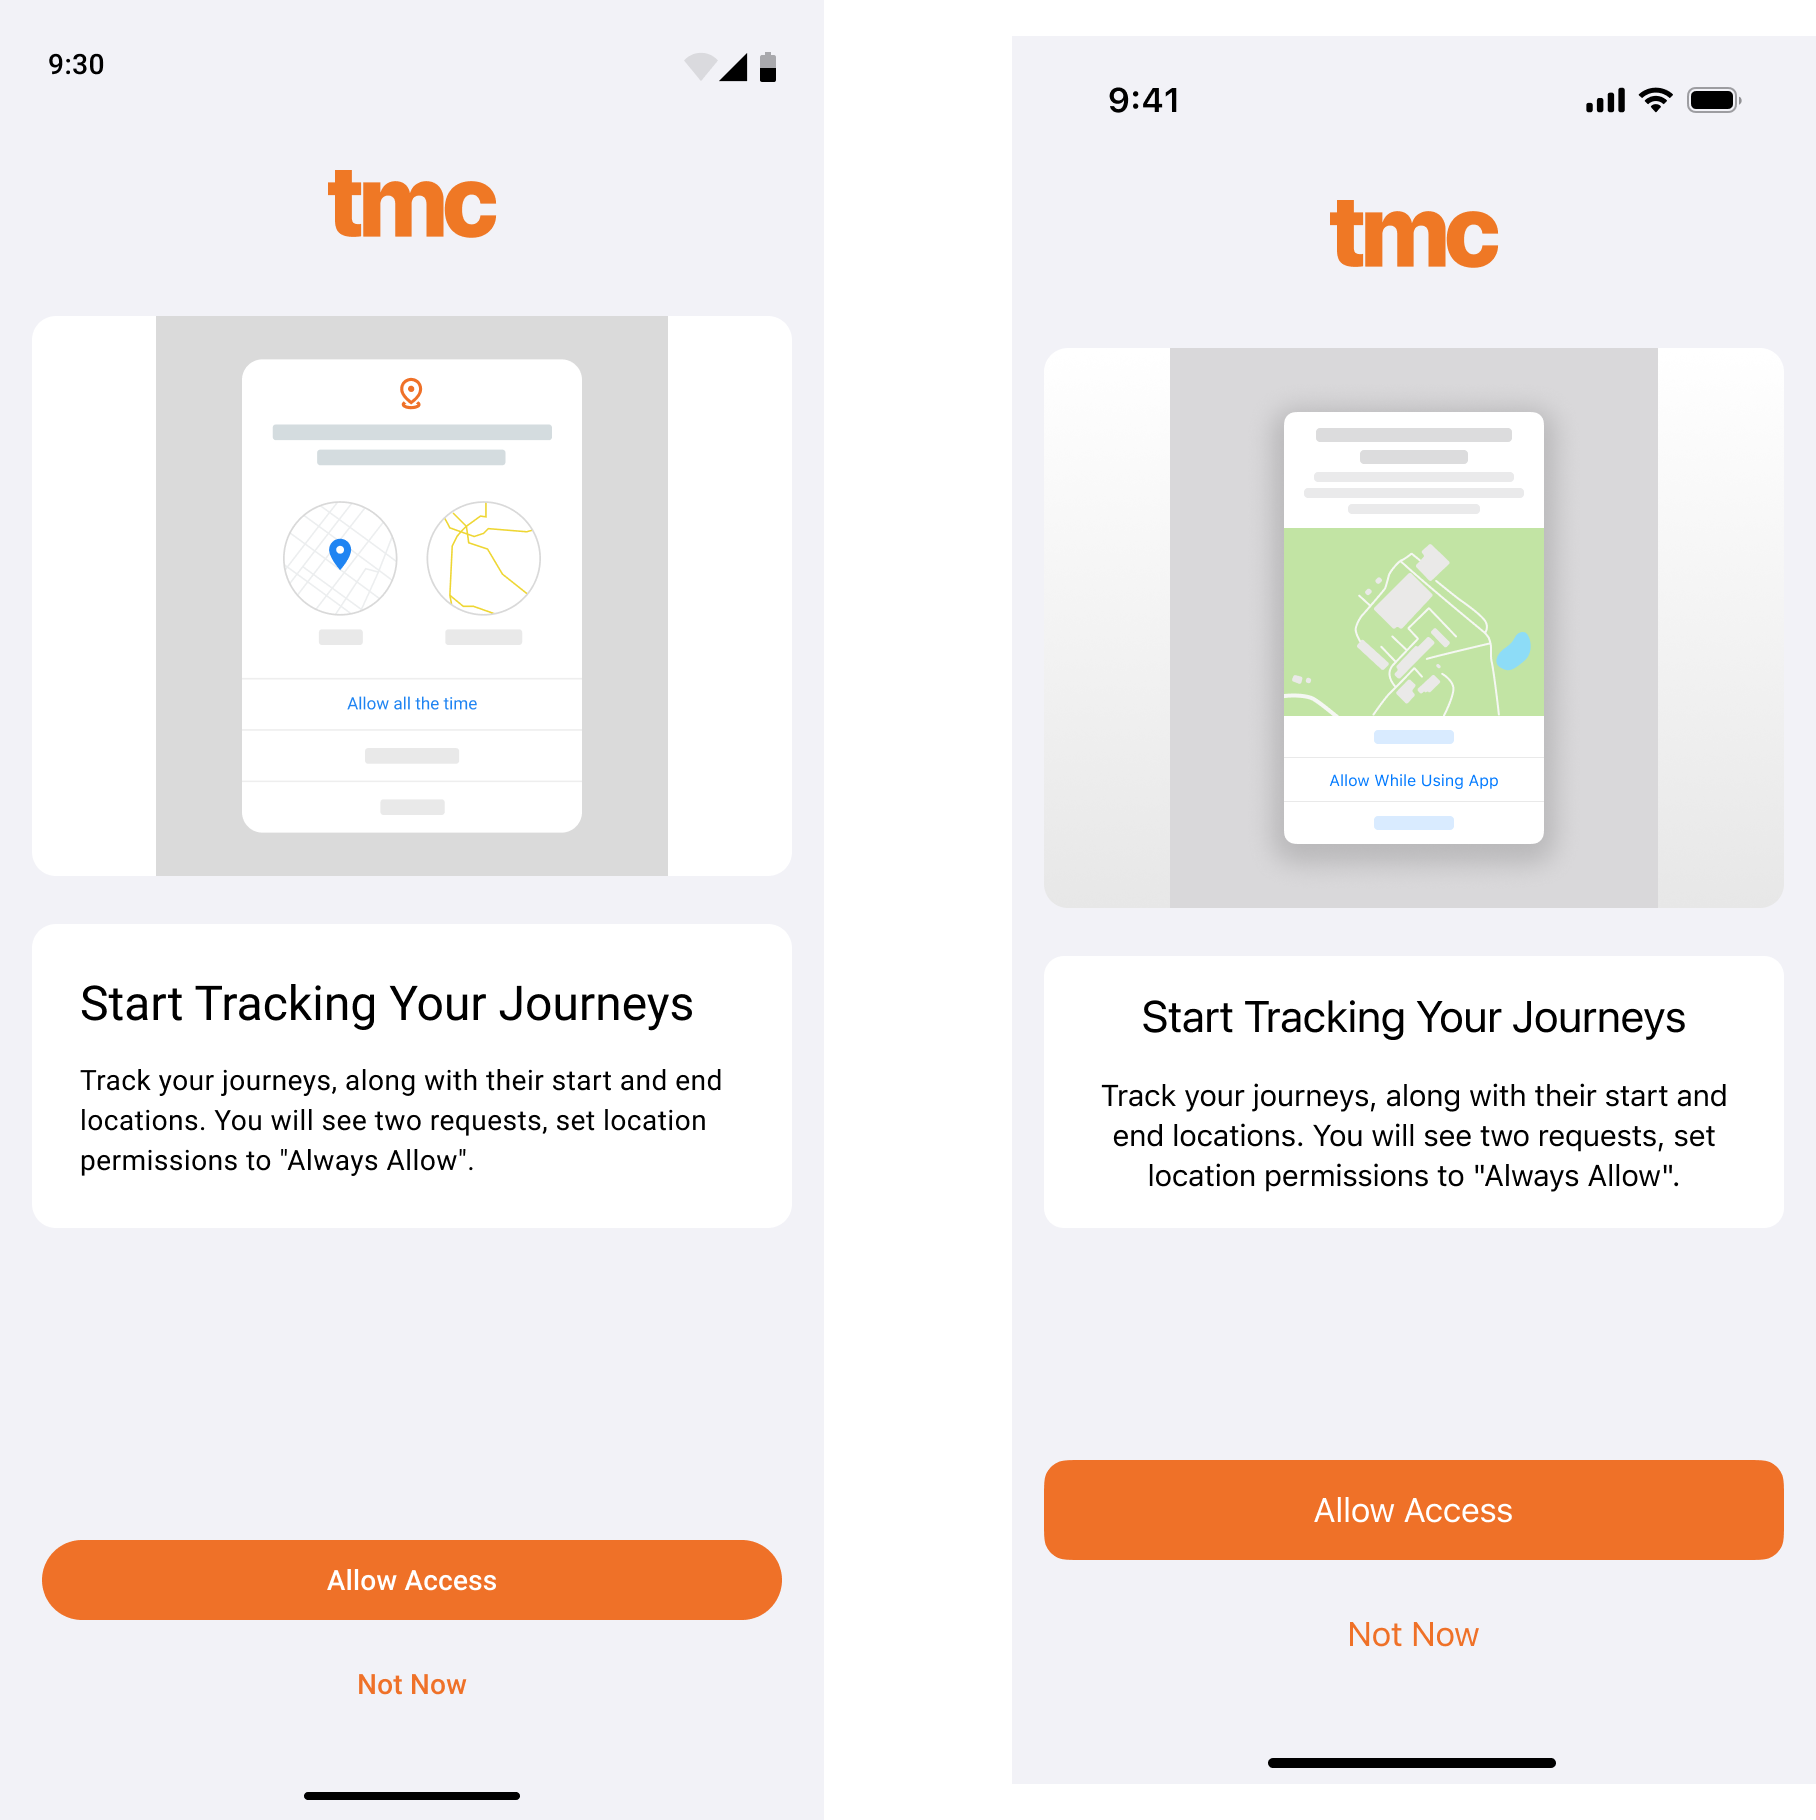
We use location permissions with AutoTrack and Manual Track, to identify the journey you took during tracking. For this to work optimally, we need access to your phone's location at all times. Select 'Allow all the time' when prompted.
3. Motion & Fitness
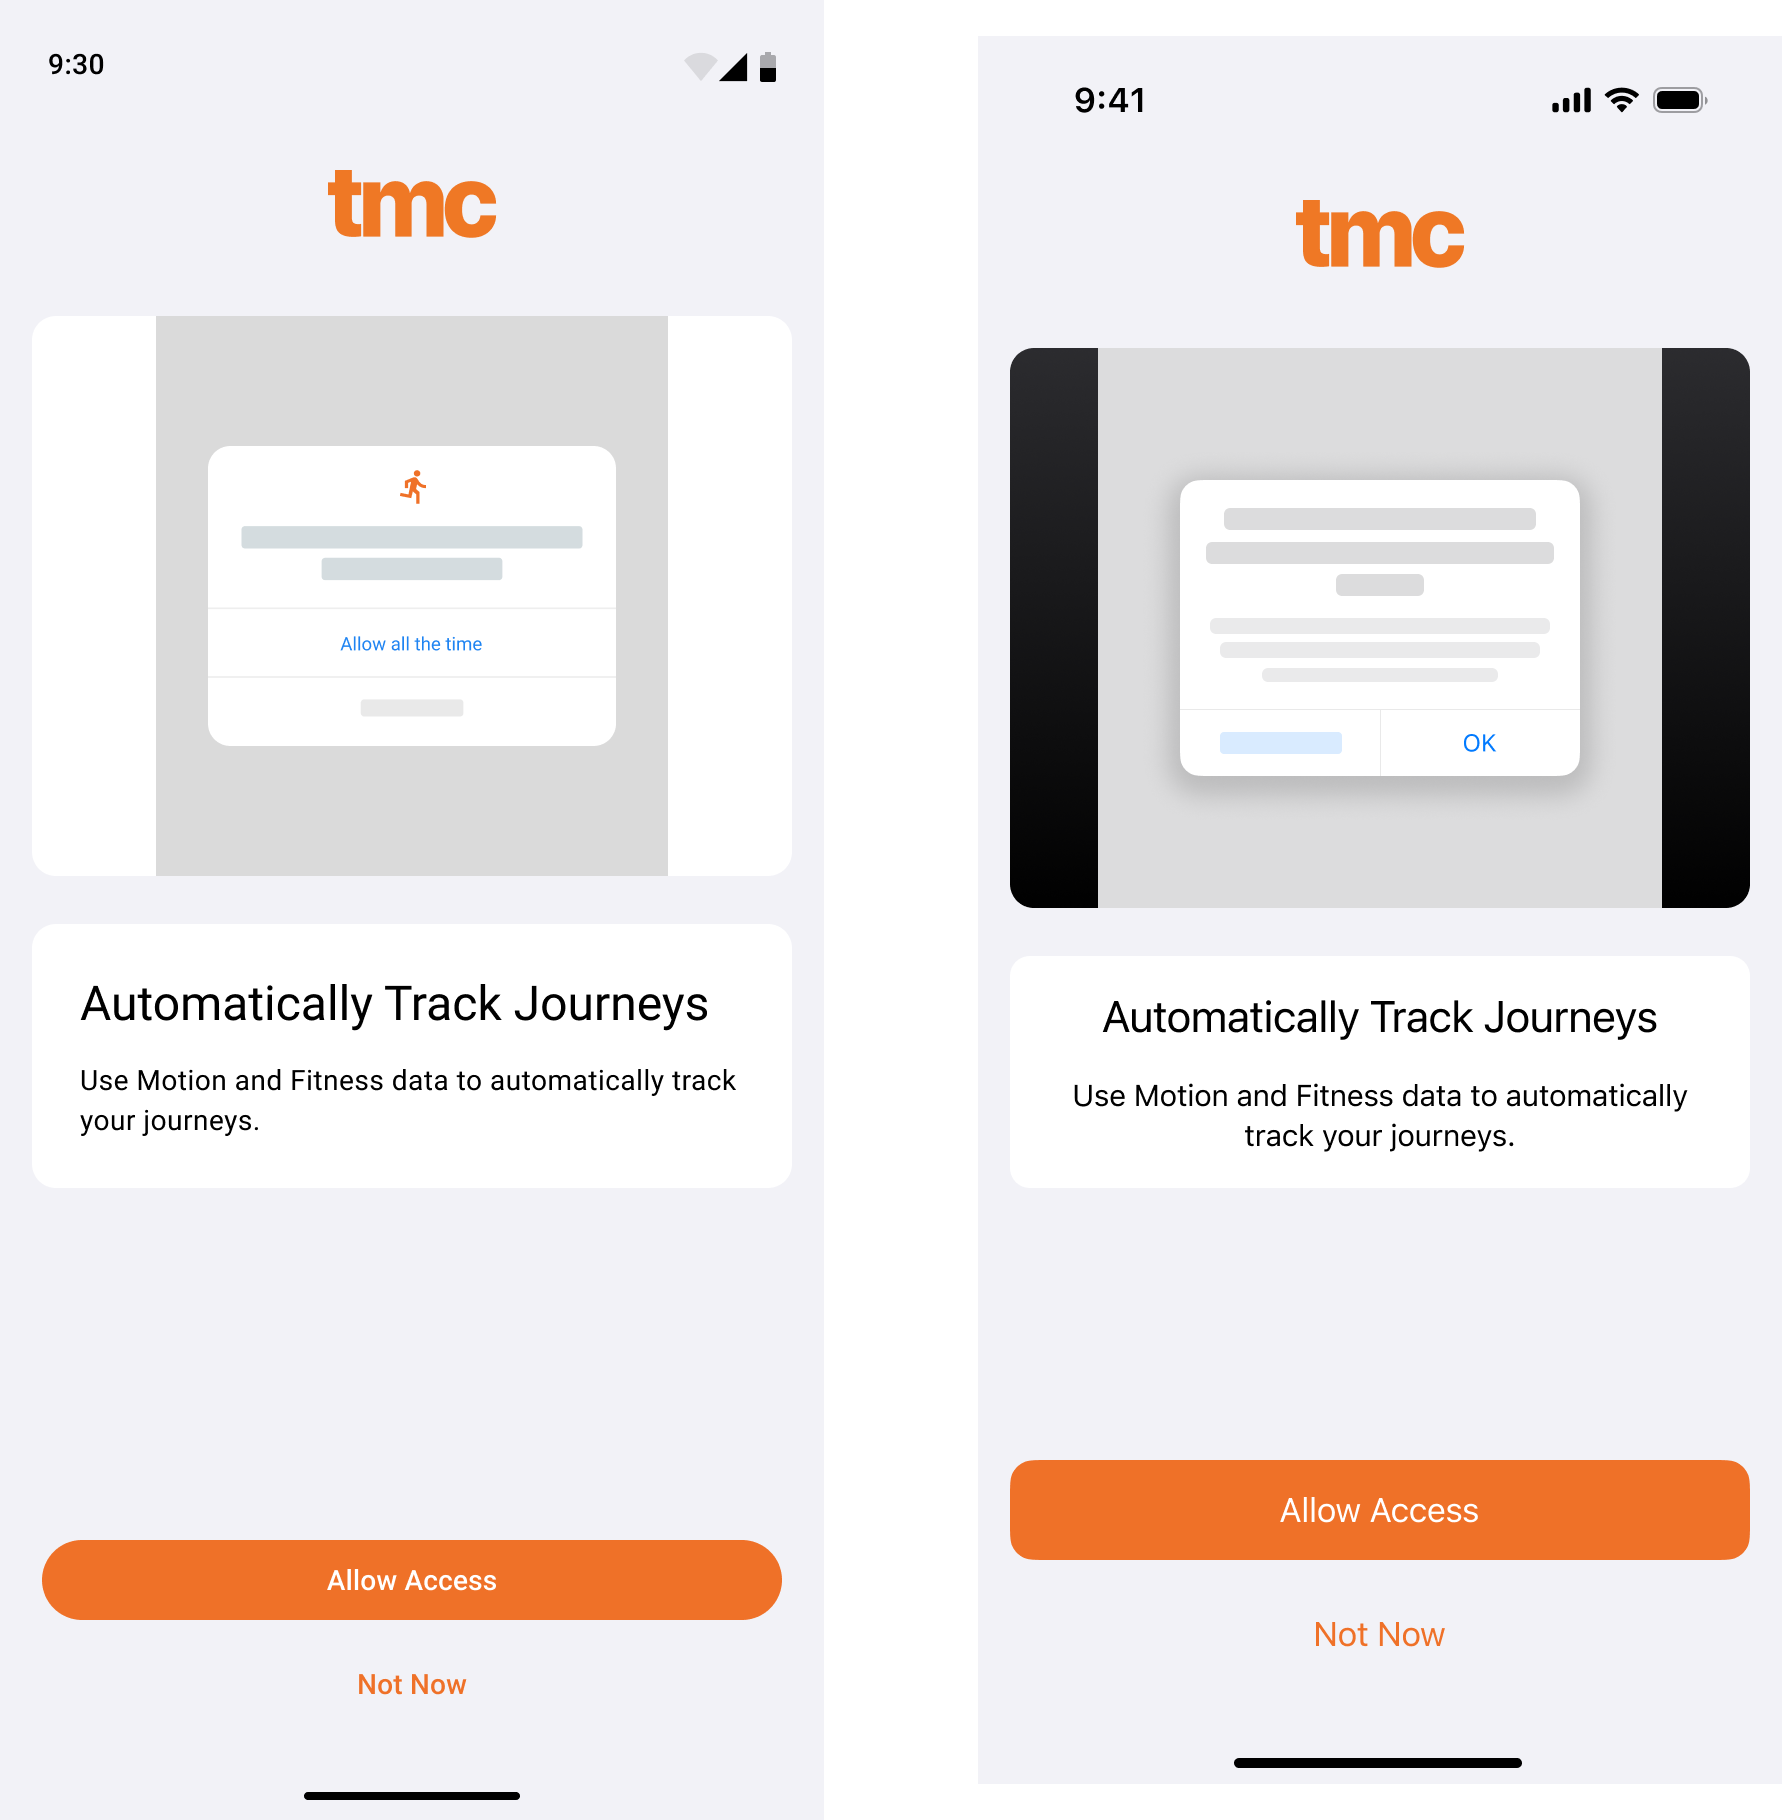
'Motion & Fitness' (iOS) or 'Activity' (Android) is used to identify the start of a journey with our AutoTrack algorithm, your phone will tell Mileage+ that it is currently driving, therefore helping our algorithm identify when to begin or stop tracking. Enable this permission for the best tracking experience.
4. (Android) Battery Optimisation & Alarms & Reminders
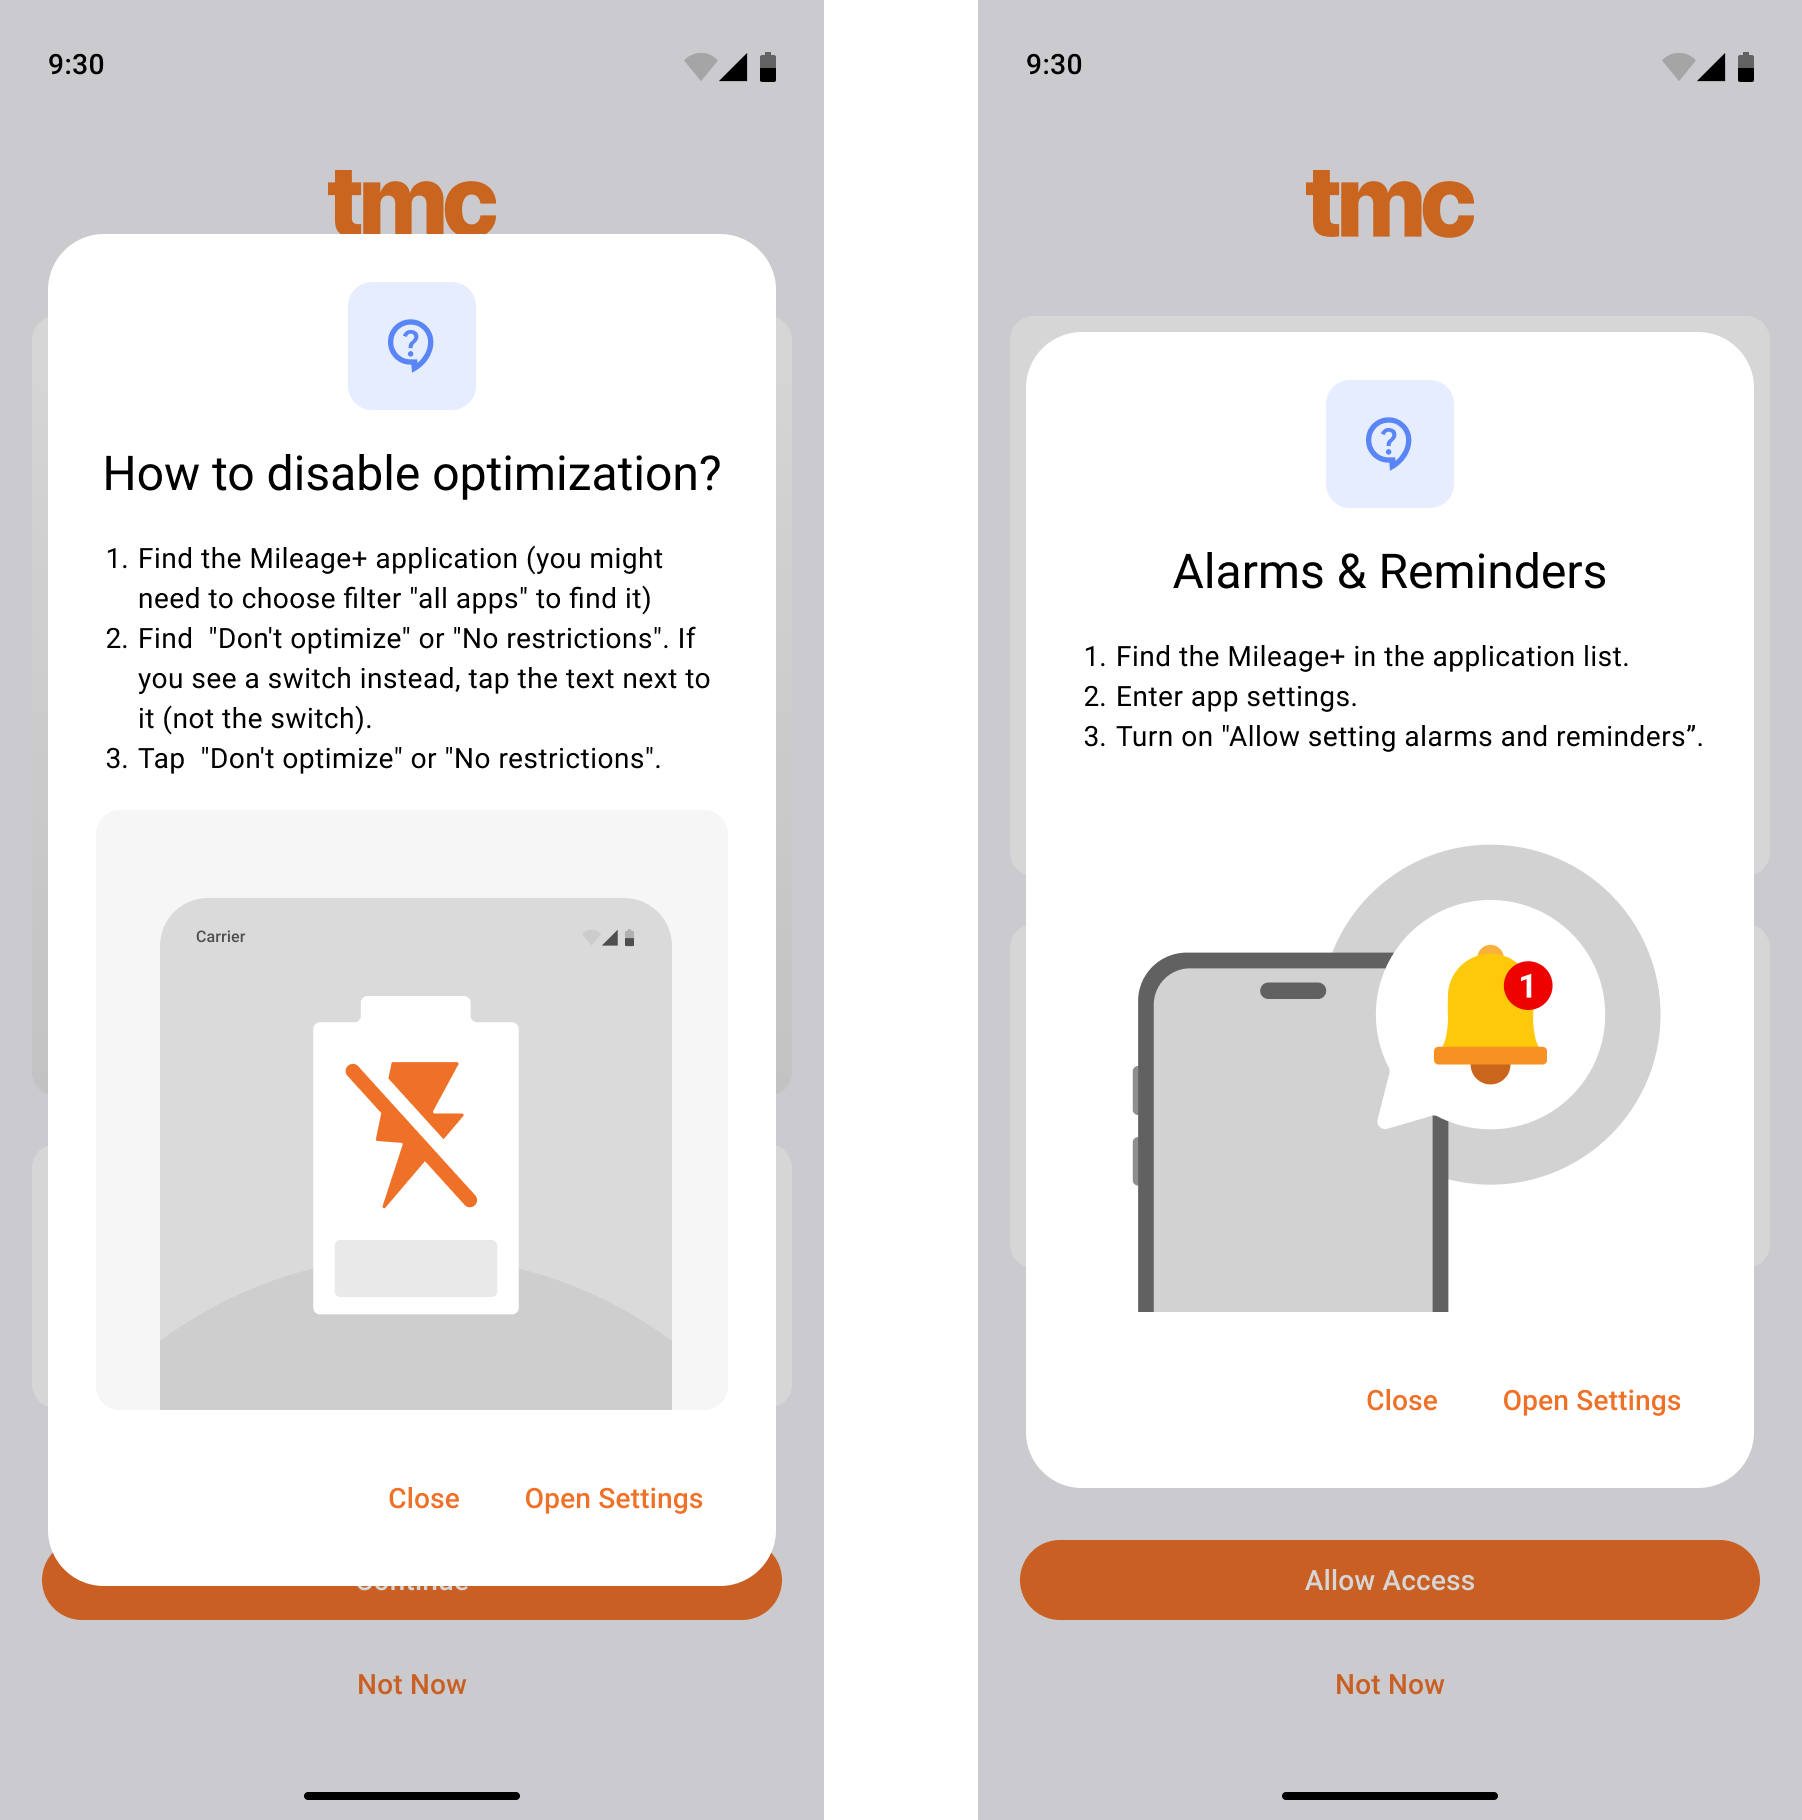
These two permissions are Android specific.
We ask you disable battery optimisation as some Android devices may end background processes considered 'used less'. Even though you may rely on Mileage+ to track, unless you have the app open in the foreground of your phone all the time, your phone may decide to restrict the access the app has after periods in the 'background'.
Alarms & Reminders being enabled allow us to wake the app when we detect movement that may be a drive. If you have had the phone in the background for a long time, the app can use a silent 'reminder' to enable the app's tracking algorithm.
Follow the below guides to ensure your tracking experience is optimal.
5. AutoTrack days & times
Set your AutoTrack times - this is the window in which the AutoTrack algorithm will track. If you start driving outside of this window, the trips will not be tracked. Be conscious, whilst setting your AutoTrack times, that if a trip starts outside of this window it will not be recorded.
Set your AutoTrack days - these are the days in which the AutoTrack times you've configured will be enabled. Most people will set this Monday to Friday, but if you work weekends or shift patterns, you may want to enable all days.